In the modern manufacturing industry, CNC machining technology has become one of the core processes in the production of complex parts with its high precision and flexibility. During CNC processing, the surface finish of the parts is one of the key factors to ensure the product quality. Whether it is aerospace, automotive manufacturing, or medical equipment industry, high-quality surface finish can not only improve the beauty of products, but also have an important impact on their functionality, durability and reliability. Therefore, in-depth understanding and control of the surface finish in CNC processing has become an important means to improve product competitiveness.
What is surface finish?
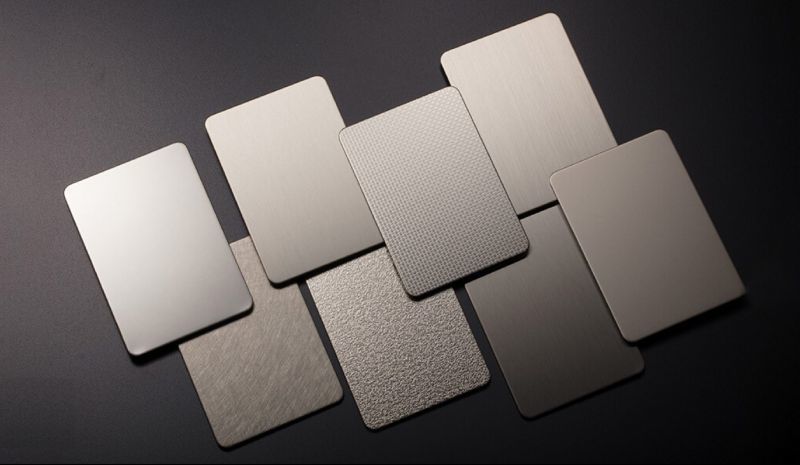
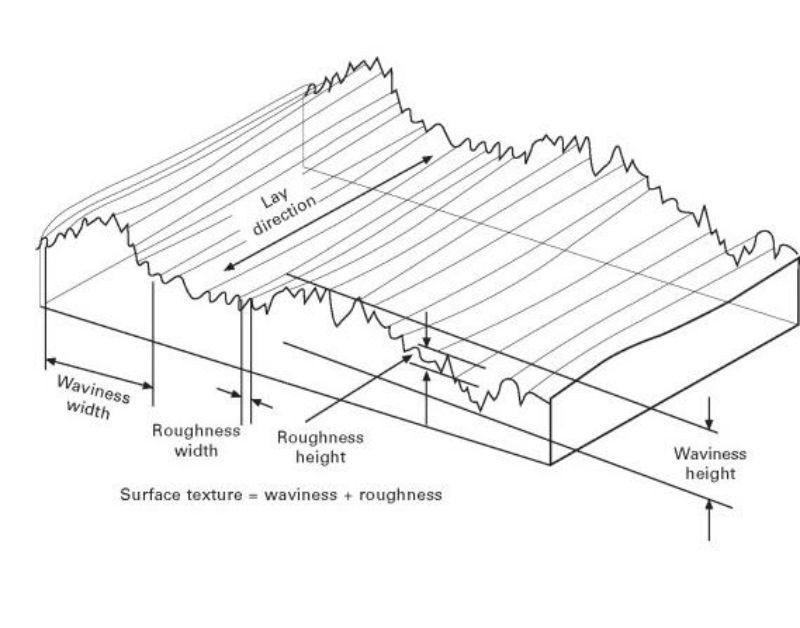
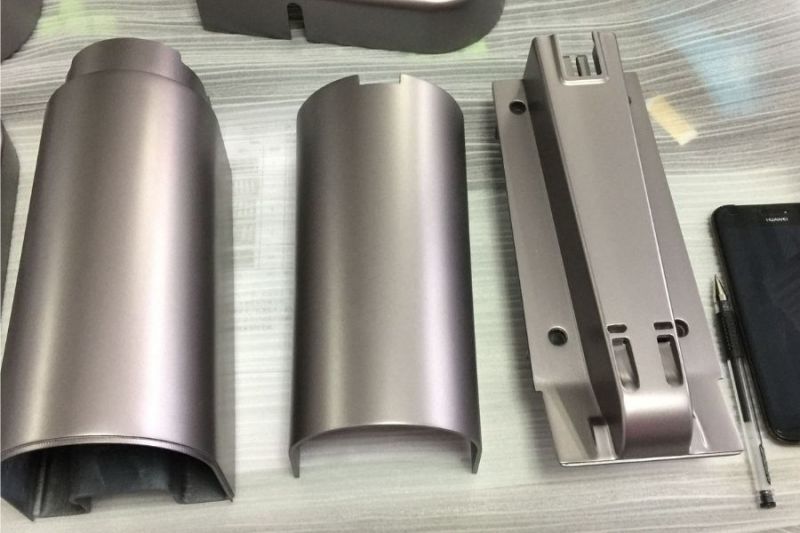
Surface finish is the degree of smoothness and brightness of the surface of a part after machining. It reflects the subtle undulations of the surface and is an important evaluation index of the surface quality of the part. It is closely related to surface roughness, so we need to understand the surface roughness chart to evaluate the surface quality of product parts.
Representation of surface finish
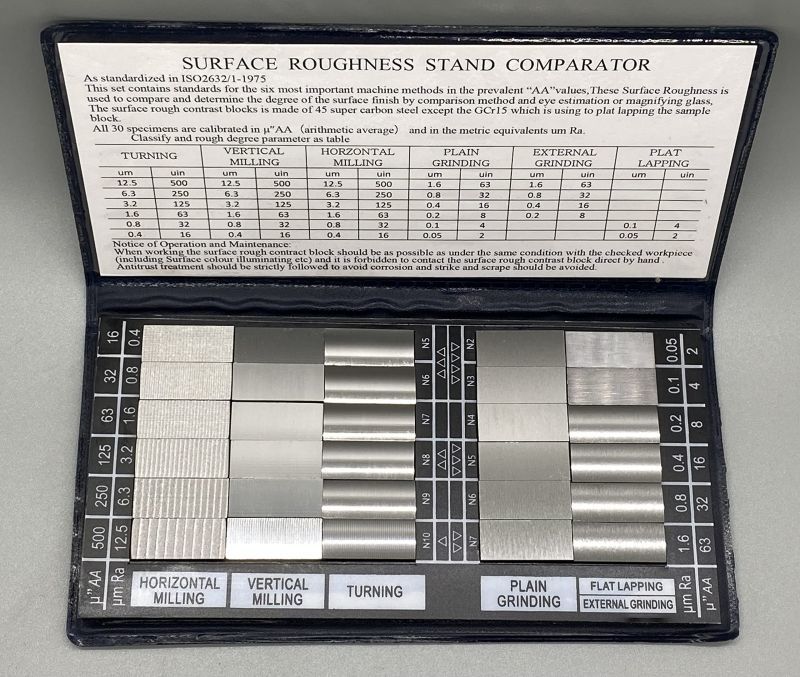
There are various ways to express surface finish, but in practical application, it is usually closely related to surface roughness. Therefore, the parameter of surface finish is often quantified in terms of surface roughness, especially when it is expressed in terms of Ra. The smaller the Ra value, the smoother the surface and the higher the finish.
In different occasions and fields, the expression method and standard of surface finish may vary, the following are the common ways of expression:
1. Ra (arithmetic mean roughness)
Ra is the most commonly used surface roughness parameter and one of the most important measures of surface finish. Its value indicates the average degree of surface undulation. The lower the Ra value, the smoother the surface and the higher the finish. For parts that are required to be smooth to the eye and touch, a lower Ra value is usually required.
2. N-grade representation
In some national or industry standards, surface finish can also be expressed in terms of N. N is a grading standard for surface finish, and the smaller the value, the higher the finish. Common N-grade standards relate to the Ra value as follows: Ra (arithmetic mean roughness), Rz (ten-point height roughness), and N-grade (the international standard ISO surface finish grade). Below is a chart of common surface roughness:
|
N 级 |
Ra(µm) |
Ra(µin) |
Rz(µm) |
Machining method |
|
N1 |
0.025 |
1 |
0.1-0.125 |
Ultra-precision machining, polishing |
|
N2 |
0.05 |
2 |
0.2-0.25 |
Precision polishing |
|
N3 |
0.1 |
4 |
0.4-0.5 |
Precision grinding |
|
N4 |
0.2 |
8 |
0.8-1.0 |
Precision grinding |
|
N5 |
0.4 |
16 |
1.6-2.0 |
Grinding, finishing |
|
N6 |
0.8 |
32 |
3.2-4.0 |
Fine turning, fine planing |
|
N7 |
1.6 |
63 |
6.3-8.0 |
Turning, planing |
|
N8 |
3.2 |
125 |
12.5-16.0 |
Rough turning, milling |
|
N9 |
6.3 |
250 |
25.0-32.0 |
Roughing (turning, milling, etc.) |
|
N10 |
12.5 |
500 |
50.0-63.0 |
Rough machining (e.g. forging) |
|
N11 |
25 |
1000 |
100.0-125.0 |
Casting or forging surfaces |
|
N12 |
50 |
2000 |
200.0-250.0 |
Cast rough surface |
Surface Roughness Chart Description:
1. N Grade: This is the surface finish grade specified by the International Organization for Standardization (ISO). The smaller the value of the N grade, the smoother the surface.
2. Ra (µm): Ra is the arithmetic mean roughness, which represents the average value of the microscopic height deviation of the surface, and is expressed in micrometers (µm). It is the most common method of expressing surface roughness.
3. Ra (µin): Ra is converted to microinche (µin) and is mainly used in imperial countries.
4. Rz (µm): Rz is a ten-point height roughness that represents the average difference between the five highest peaks and five lowest valleys on a surface, expressed in micrometers (µm).
5. Processing method: This column corresponds to the typical processing of the roughness, usually the smaller the roughness, the finer the processing.
Relationship between Ra and Rz: Generally speaking, the value of Rz is about 4 to 10 times that of Ra, depending on the material and processing method.
Conversion of N level: N level is the grading standard of surface finish, and it is often used in technical drawings to indicate the requirements of processed surfaces. The smaller the N level is, the lower the surface roughness (Ra) is, and the smoother the surface.
3. Grit (sanding grain size) expression method
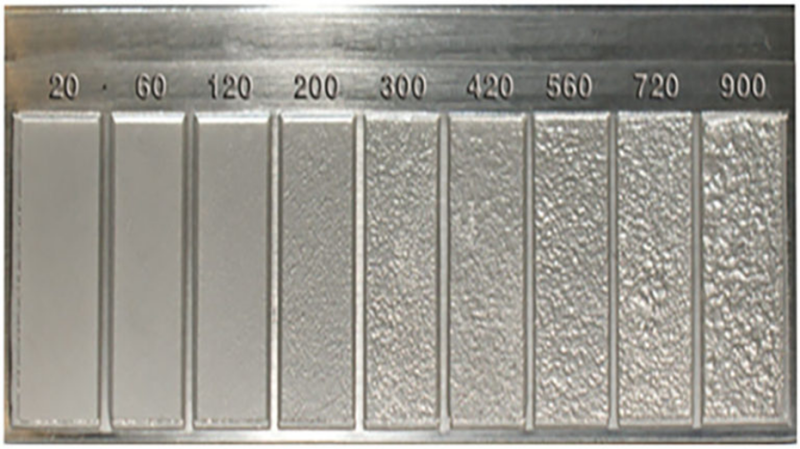
In some processes, such as polishing or grinding, the finish can also be expressed through the Grit (grain size) value, Grit value indicates the size of the sandpaper or abrasive. Grit value is larger, on behalf of the abrasive material is finer, the higher the surface finish after polishing. Common grit sizes range:
- Coarse: Grit 60-80
- Medium: Grit 120-180
- Fine: Grit 240-320
- High Precision: Grit 600-1200
Relationship and Difference between Surface Finish and Surface Roughness
Surface finish is often closely related to surface roughness. Surface roughness is a quantitative measure that characterizes the degree of microscopic unevenness of a part's surface and is usually expressed by measuring the difference in height between the peaks and valleys of the surface. Lower roughness usually corresponds to higher finish.
Therefore, in machining, surface roughness can be used as a quantitative means of assessing surface finish, and commonly used parameters include Ra (arithmetic average roughness), Rz (ten-point height roughness), etc. The lower the roughness value, the higher the surface finish.
The importance of surface finish for products
1. Enhance the performance of parts: High surface finish can reduce friction, reduce wear and prolong the service life of parts.
2. Improve sealing: A smooth surface helps to improve the sealing effect between parts, preventing the leakage of liquids or gases.
3. Aesthetics: In some parts or products with high demands on appearance, a smooth surface can enhance the visual effect and make the product more attractive.
4. Improved contact quality: In electrical and heat transfer applications, a high finish reduces contact resistance and improves electrical conductivity and heat dissipation.
What are the methods of measuring surface finish?
1. Contact measurement
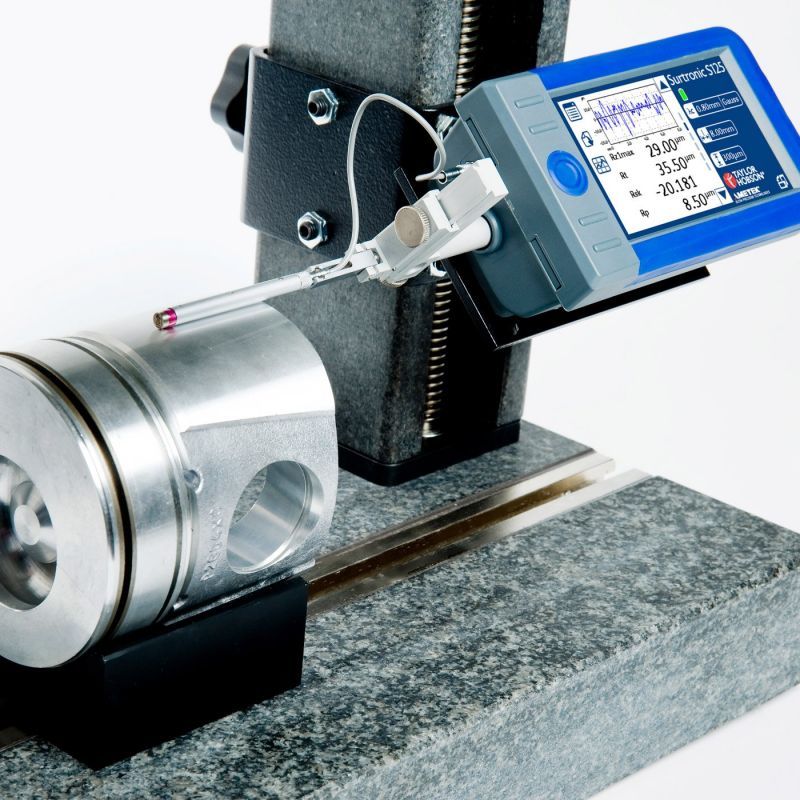
The contact surface finish meter is one of the most common measuring devices. This device calculates the roughness value by moving a probe over the surface of the workpiece and recording the change in height of the crests and troughs. Commonly measured parameters such as Ra, Rz can be measured by this method.
2. Non-contact measurement
Non-contact measurement methods utilize optical, laser or electromagnetic technologies to measure surface roughness by detecting changes in light reflected or scattered from the surface. This method is suitable for very precise surface measurements and is especially advantageous on workpieces that are sensitive to surface damage.
3. Microscope method
The microscopic method uses an electron microscope or an optical microscope to directly observe and analyze the surface. This method provides a detailed image of the surface microstructure, which helps to analyze the roughness characteristics of the surface.
4. Interferometry
The interferometry method utilizes the principle of light wave interference to analyze the change in the distance between the peaks and valleys of waves on different surfaces, thus calculating the roughness. This method is usually used for very smooth and precise surface measurements.
What are the factors affecting surface finish in machining?
1. Machining method
Different machining methods have a direct effect on surface roughness. Common machining methods include turning, milling, grinding, boring and EDM. Generally, grinding and precision machining produce smoother surfaces, while rough machining such as turning tends to produce greater roughness.
2. Cutting parameters
Cutting speed, feed and depth of cut are important parameters in determining surface roughness.
Cutting speed: the higher the cutting speed, the more uniform material removal, the better the surface quality. However, too high a speed may lead to tool wear, but reduce surface quality.
Feed: the larger the feed, the larger the spacing of the cutting path of the tool, which is prone to produce deeper cutter marks, thus increasing the surface roughness.
Depth of cut: Too much depth of cut increases the load on the tool, leading to increased vibration and heat, which in turn affects surface roughness.
3. Tool geometry and material
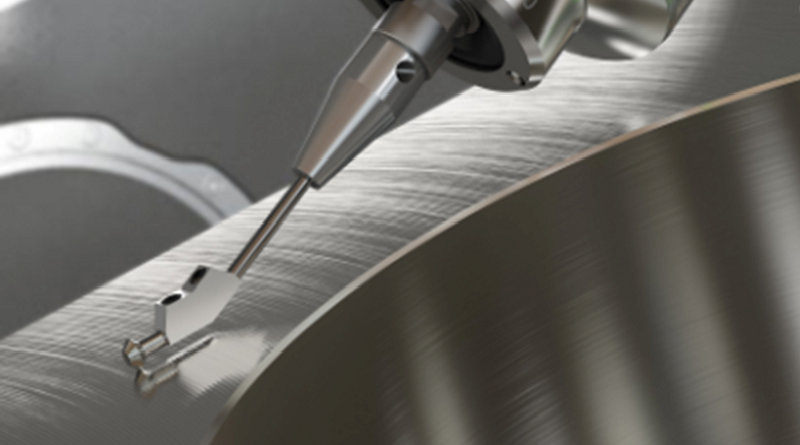
The geometry of the tool (e.g. tip radius, front angle, back angle, etc.) directly affects the way the material is removed during the cutting process. The hardness and wear resistance of the tool material also determines its stability in machining. If the wear of the tool is excessive, it will have an uneven effect on the surface of the workpiece.
4. Workpiece material
Different materials have different machinability. For example, soft materials are prone to burrs, resulting in greater surface roughness, while hard materials may produce a higher surface finish. In addition, the homogeneity of the material will also affect the surface quality after machining.
5. Vibration
Vibration of the machine or workpiece during machining can have a significant effect on surface roughness. Vibration can cause the tool to cut unevenly, resulting in ripples or irregular texture on the surface. Therefore, controlling the stability of the machine and reducing vibration is an important way to improve surface finish.
6. Cooling and lubrication
Proper cooling and lubrication can reduce the friction and heat during machining, reduce the bonding phenomenon between the tool and the workpiece, thus improving the surface quality. Especially in high-speed cutting, the use of coolant is critical.
7. Machine accuracy
The precision and rigidity of the machine will also directly affect the surface roughness. A high precision machine ensures a stable relative position between the tool and the workpiece, resulting in a smoother surface.
Conclusion
Surface finish is a critical quality indicator in machining that directly affects the performance, durability and aesthetics of the part. By mastering the influencing factors and measurement methods of surface finish, companies can better control the production process, enhance product competitiveness, and meet customer demand for high-quality parts. The YiXin Precision technical team understands the proper methods involved in the stringent surface finish standards. At YiXin Precision, we offer complete dimensional inspection reports, and proven surface finishing processes, from anodizing, plating and sandblasting to polishing and brushing.
Frequently Asked Questions
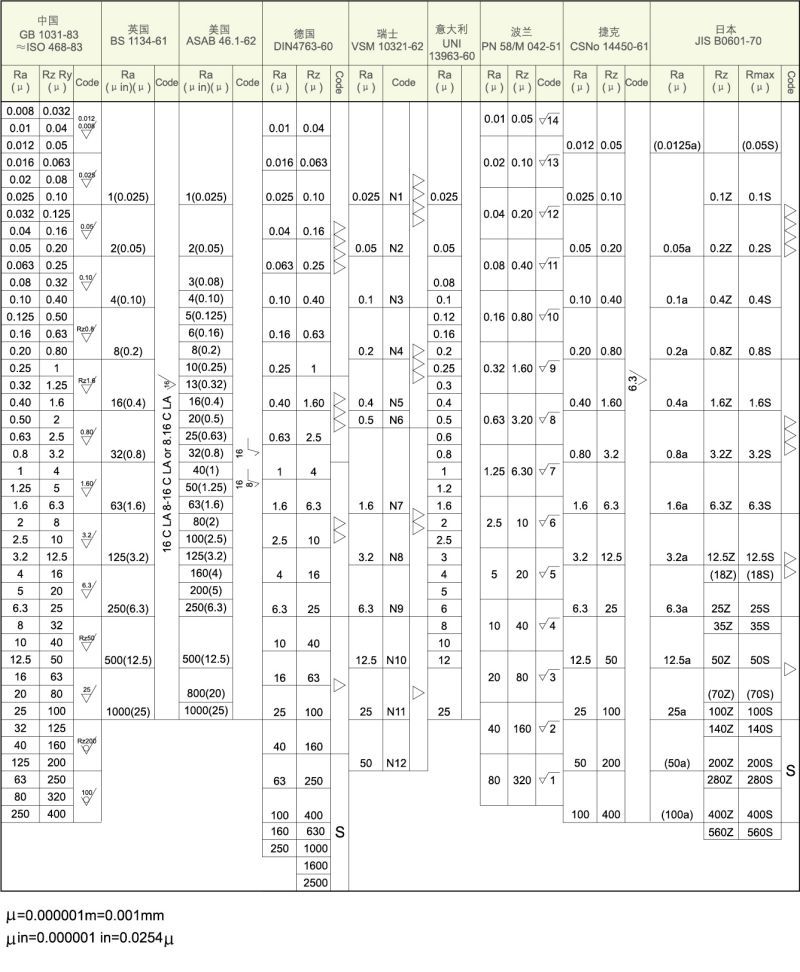
Comparison table of national finish standards
Comments on “Surface Finish Chart: Understanding Surface Finish in CNC Machining”